A Step-by-Step Guide to Sultry Glamour
Mastering the Smokey Eye
The smoky eye has long been a staple of glamorous makeup looks, gracing red carpets, fashion runways, and everyday wear with its alluring appeal. With its blend of mystery, sophistication, and allure, it's no wonder that mastering the smoky eye is a sought-after skill in the world of beauty. In this guide, we'll break down the steps to achieving the perfect smoky eye.

Prep and Prime
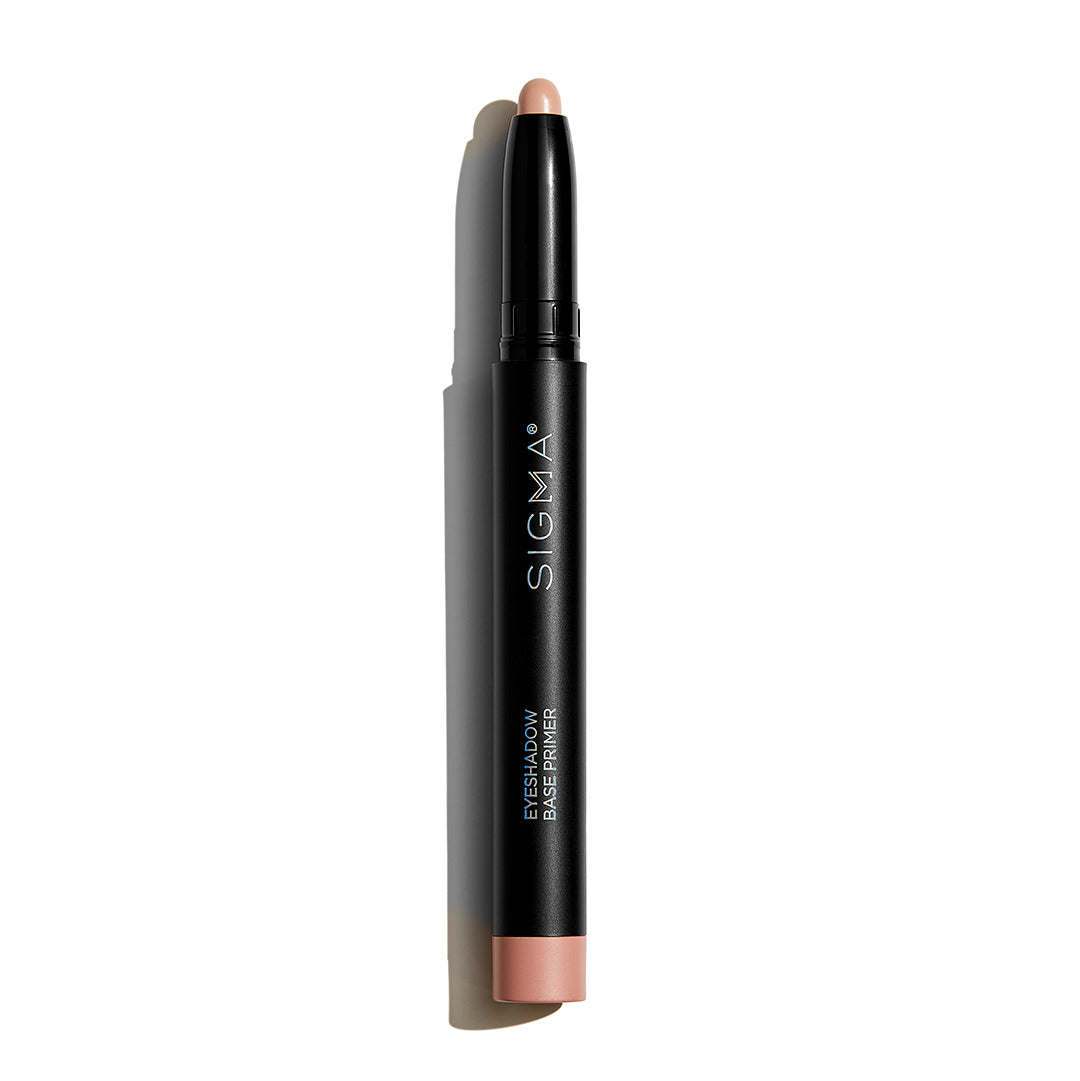
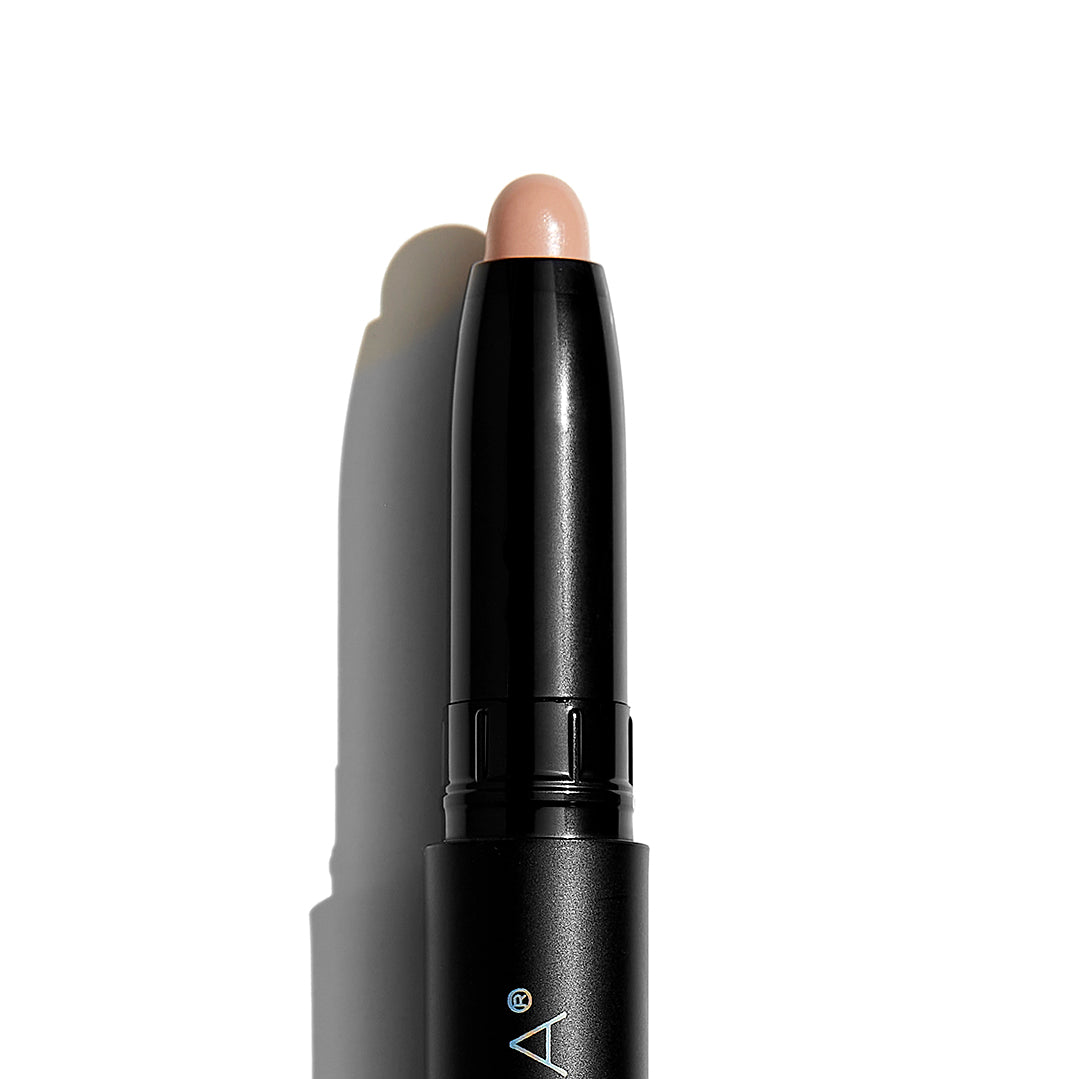
STEP 1
Before diving into the world of shadows and liners, it's essential to prepare your canvas. Start by applying a primer to your eyelids. This step not only helps your eye makeup last longer but also creates a smooth base for seamless blending. Choose a primer that suits your skin type and concerns, whether you need something mattifying, hydrating, or color-correcting.

Select Your Shades
STEP 2
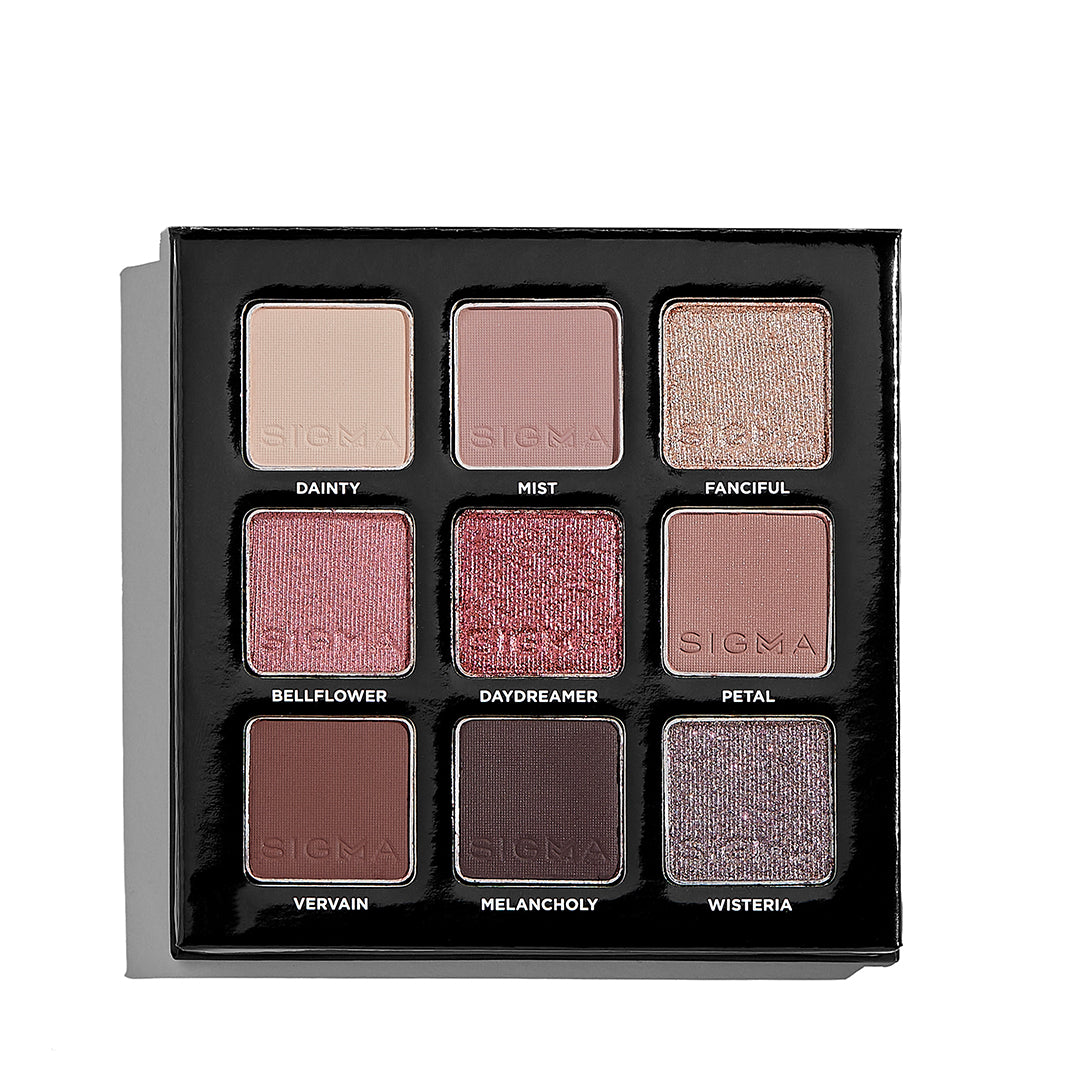
The key to a mesmerizing smoky eye lies in the shades you choose. While traditional smoky eyes often feature blacks and grays, don't be afraid to experiment with different colors to complement your eye color and overall look. Browns, purples, and even blues can create stunning variations of the classic smoky eye. Opt for a mix of matte and shimmer shadows to add dimension and depth to your look.

BUILD YOUR BASE
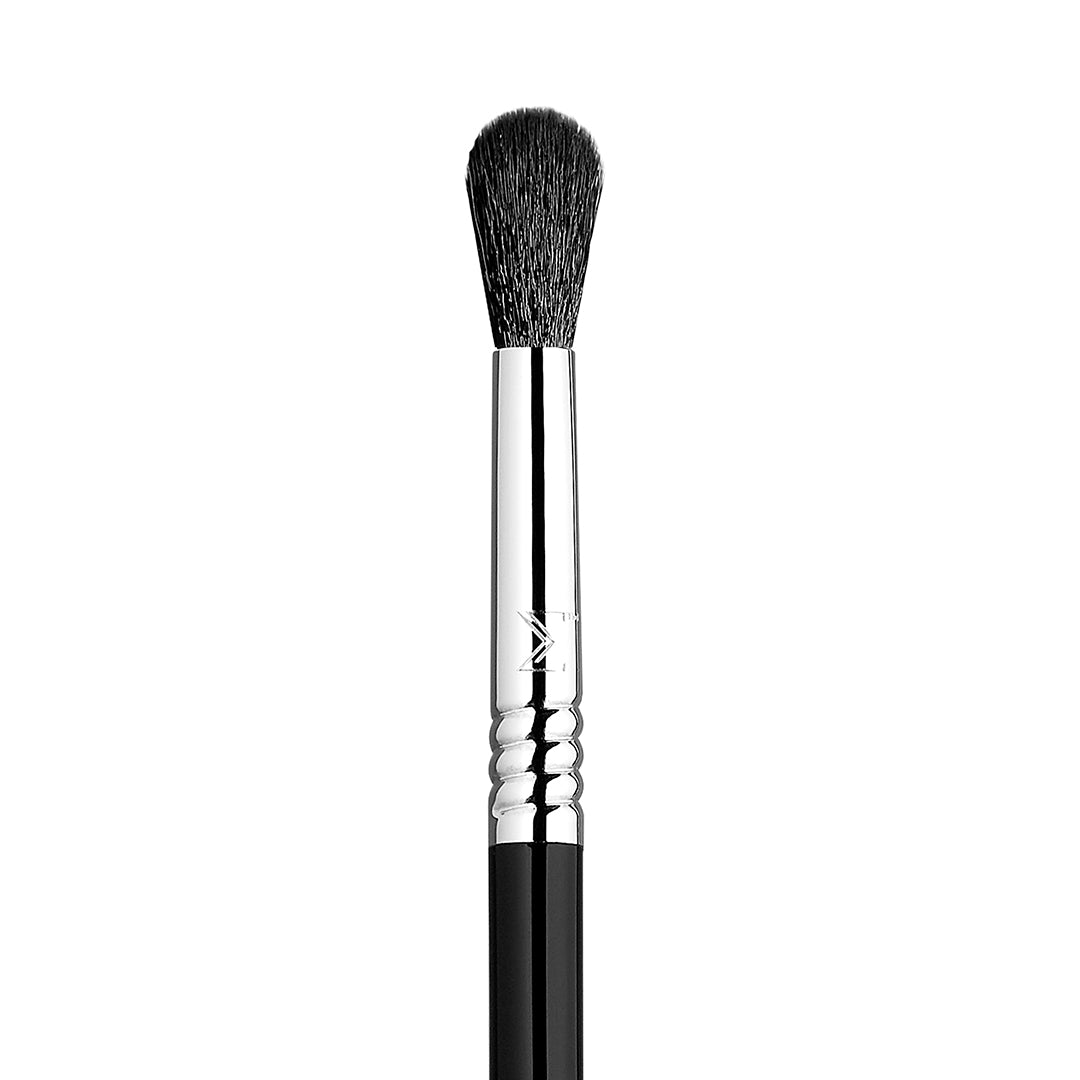
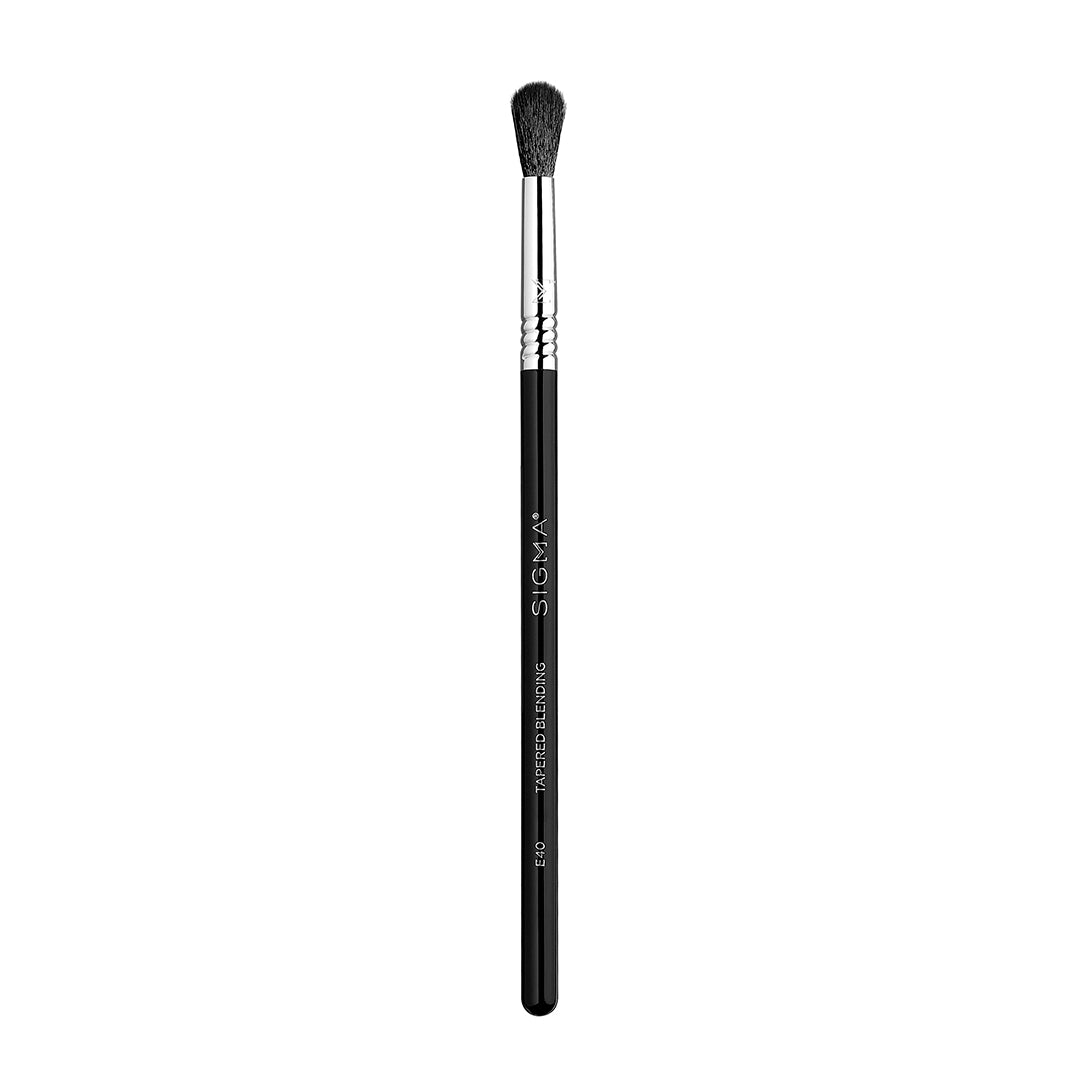
STEP 3
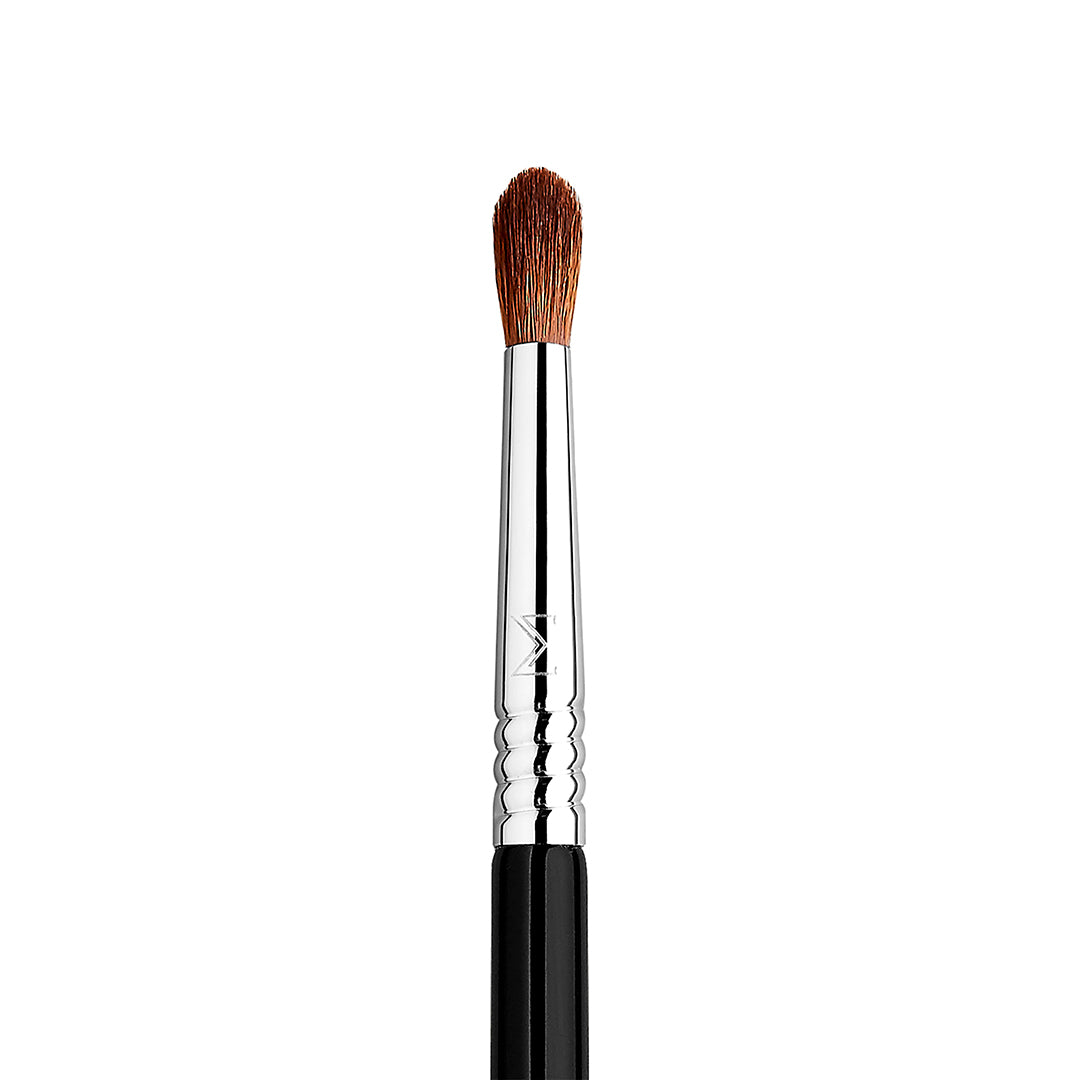
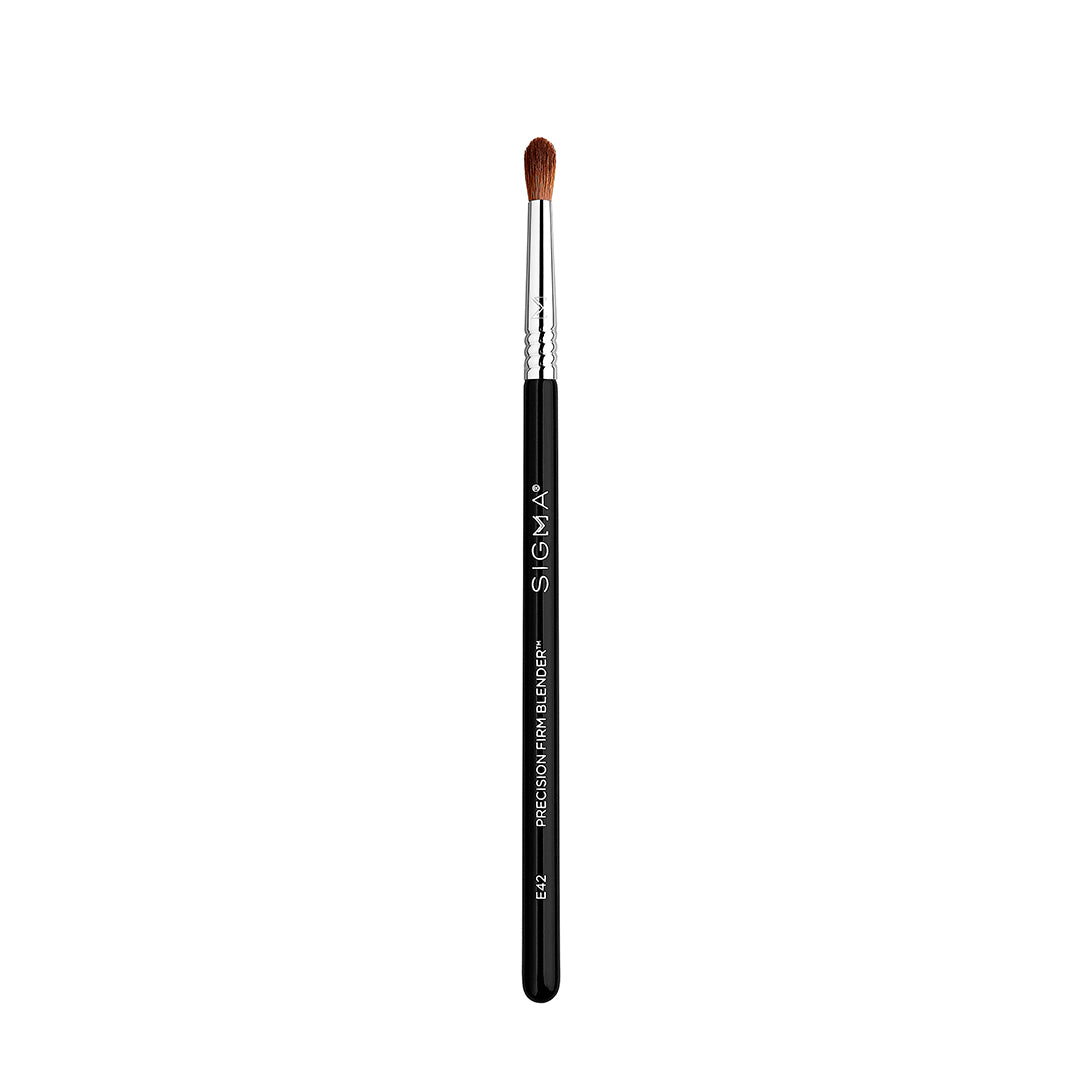
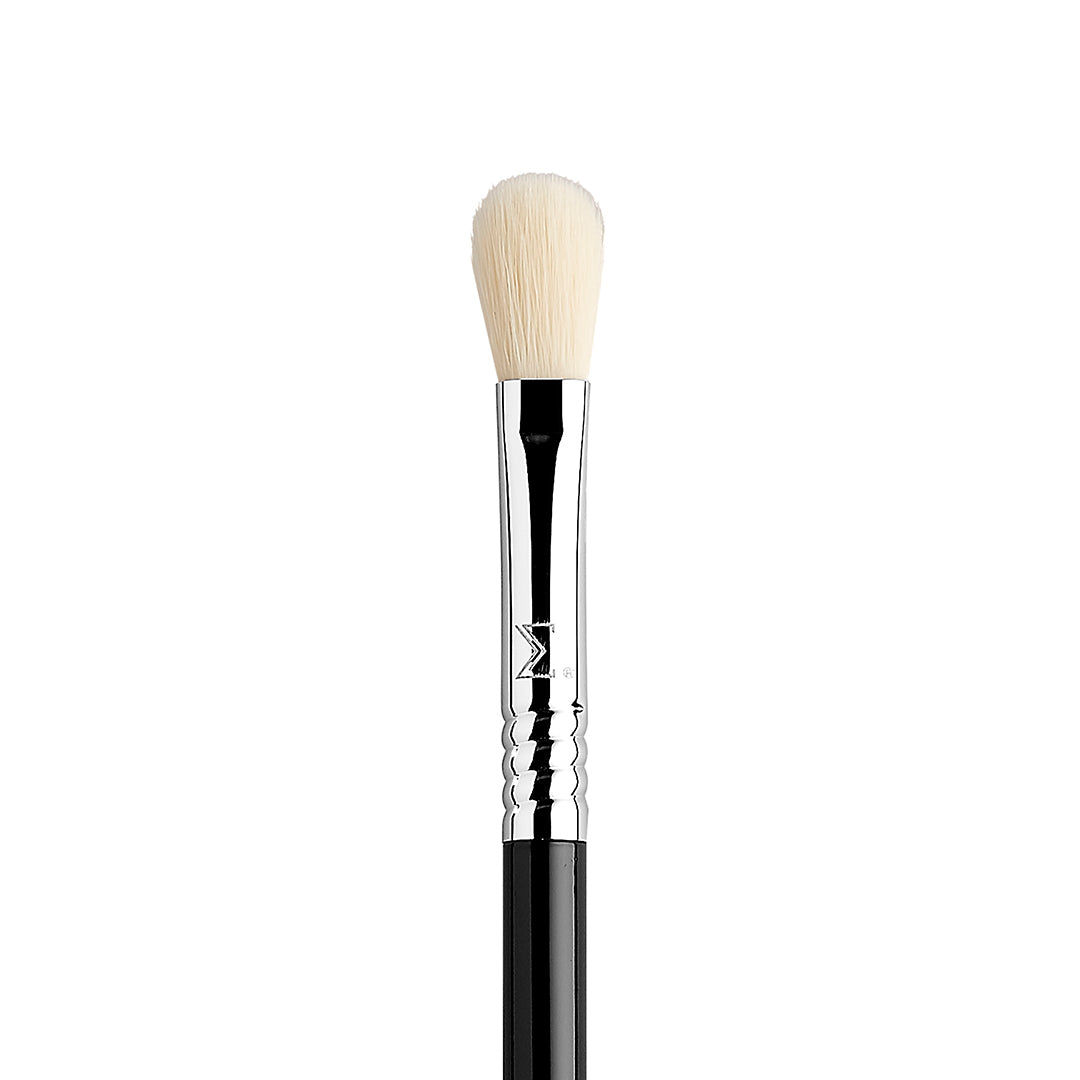
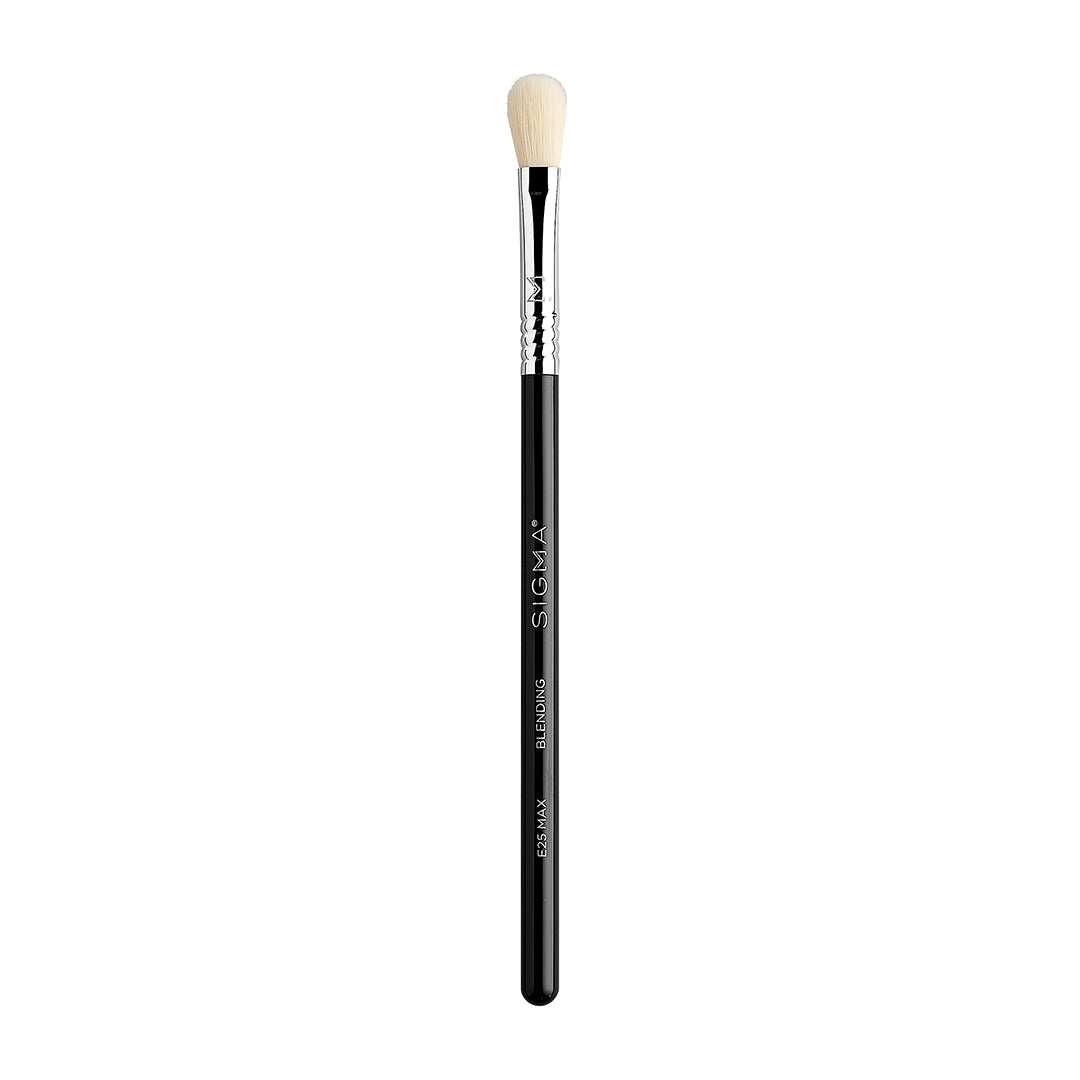
Start by applying a transition shade to your crease using a fluffy blending brush. This shade should be slightly darker than your skin tone and will help create a seamless transition between colors. Next, apply a medium-toned shadow to your lid, focusing on the outer corner and gradually building up the intensity towards the center. Use a smaller brush to precisely apply a darker shade to the outer corner, blending it into the crease for added depth.

ADD DEFINITION
STEP 4
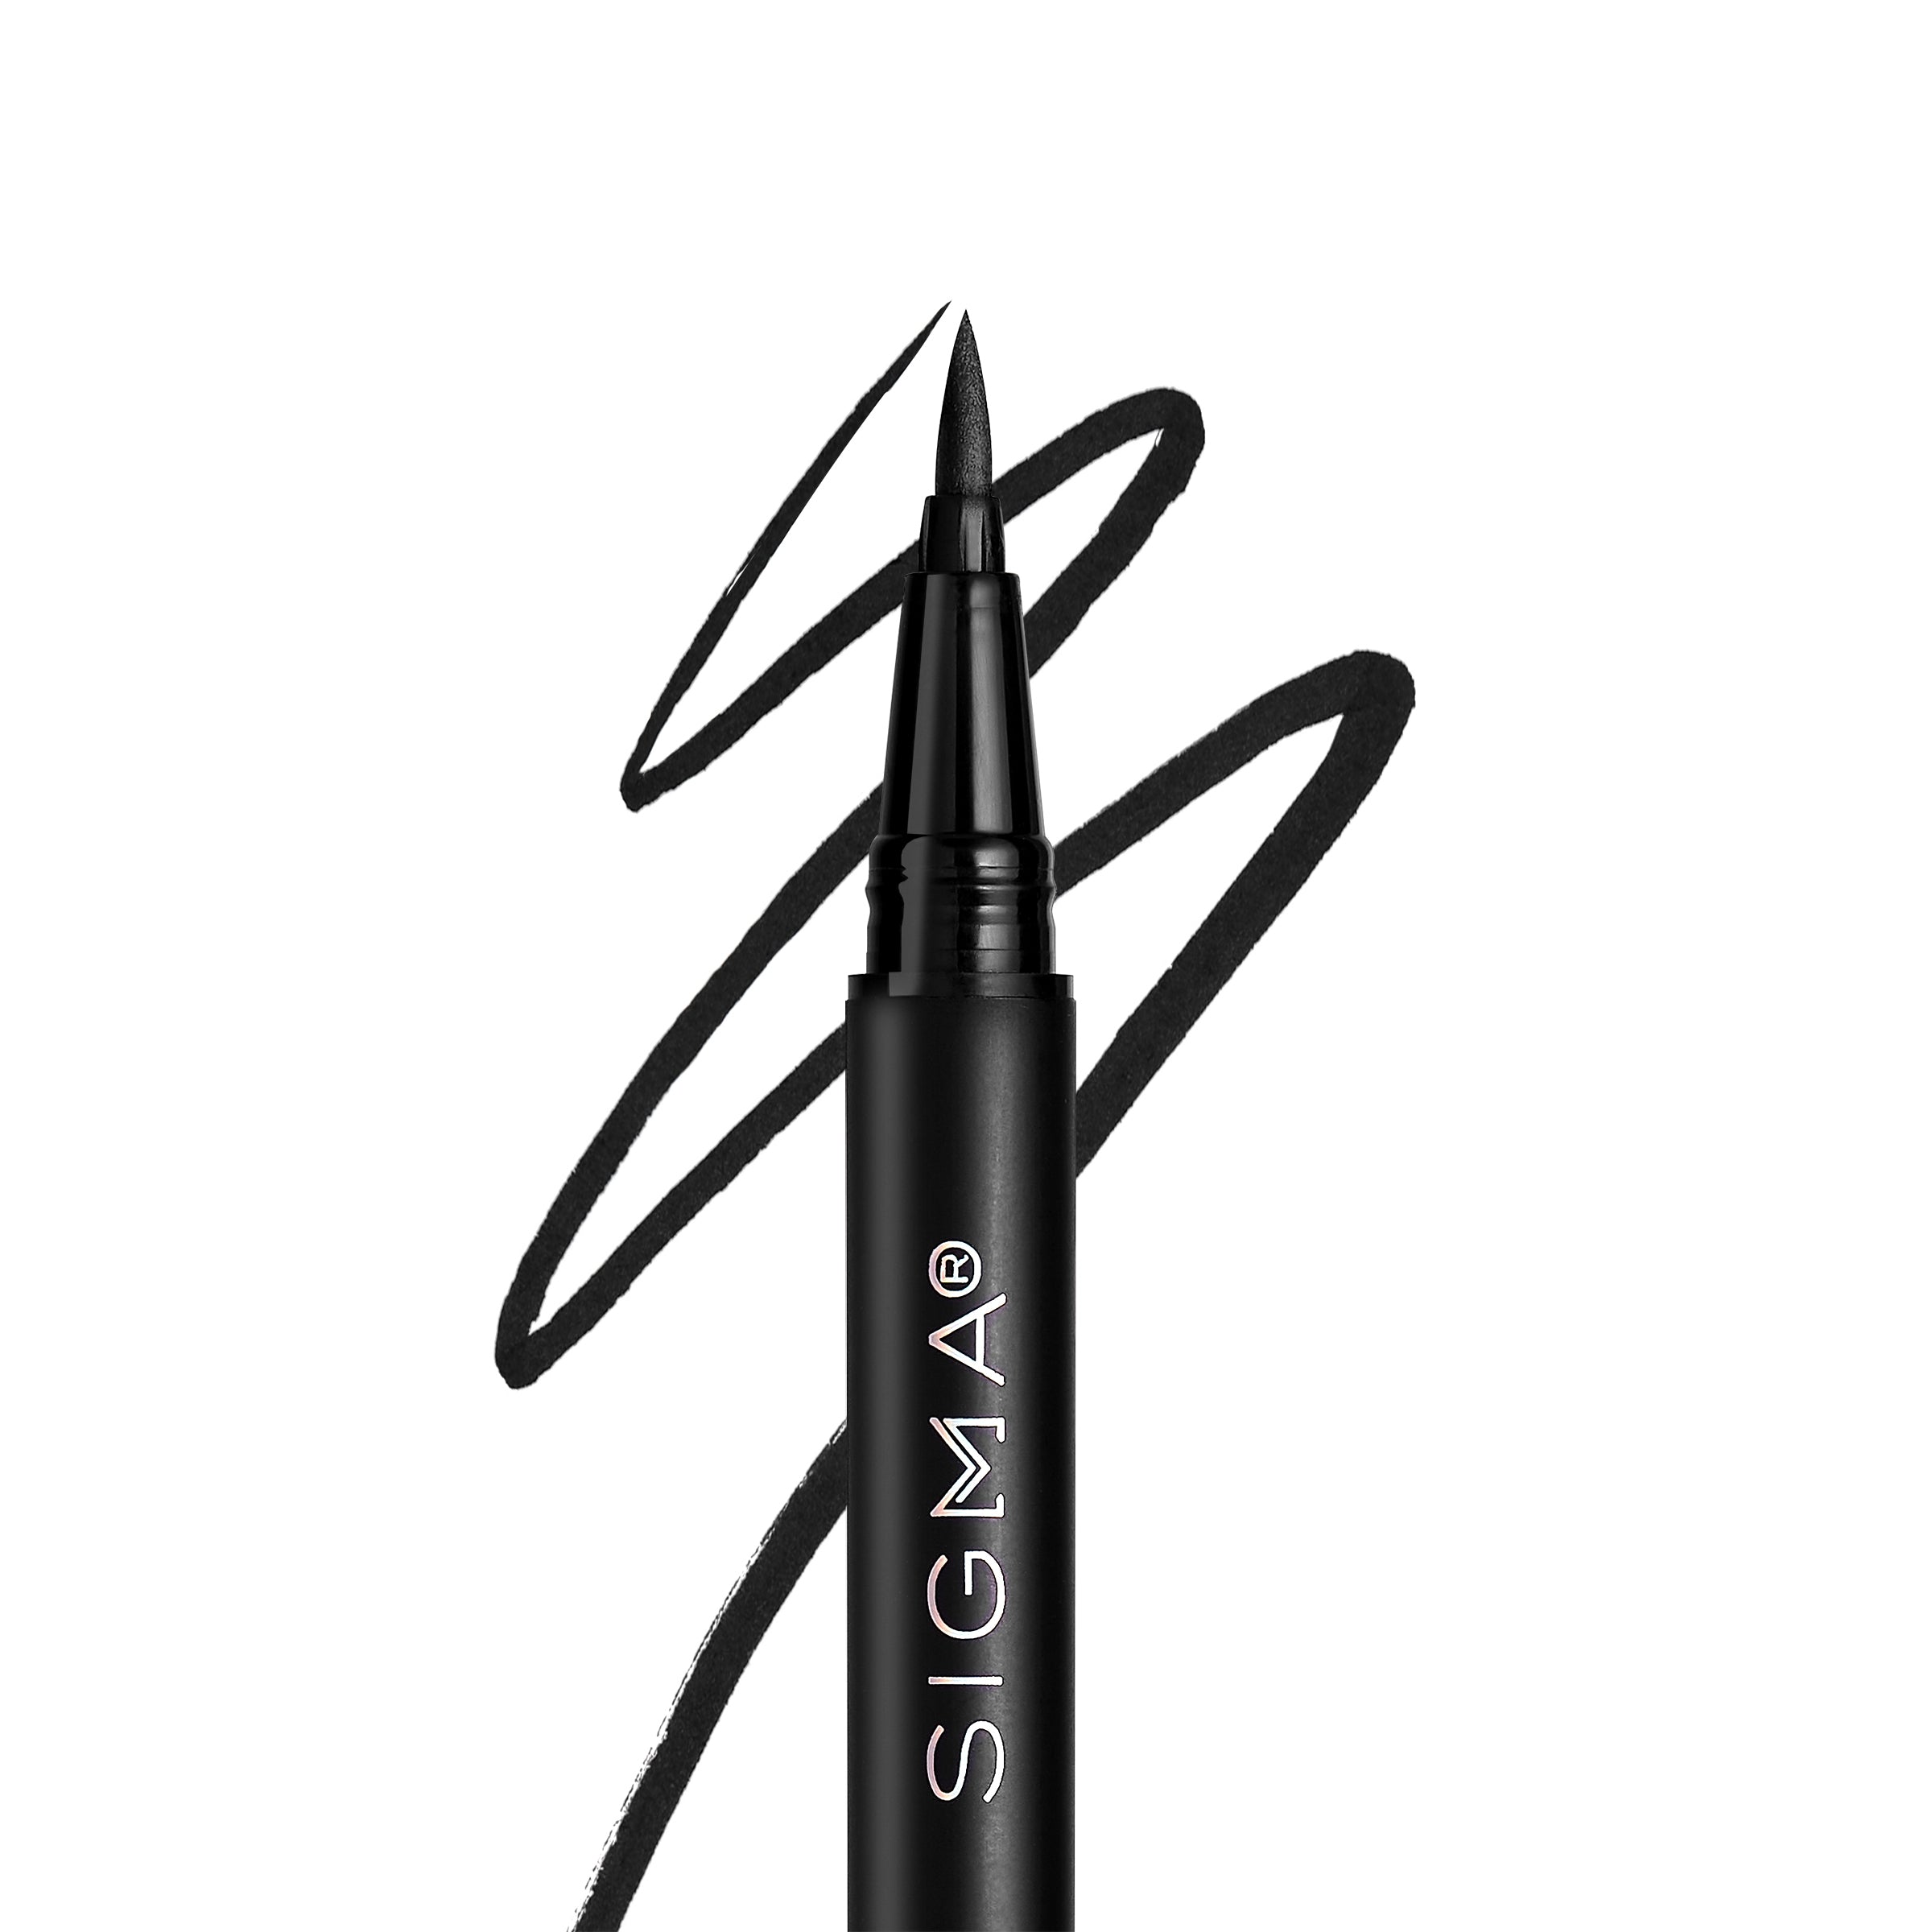
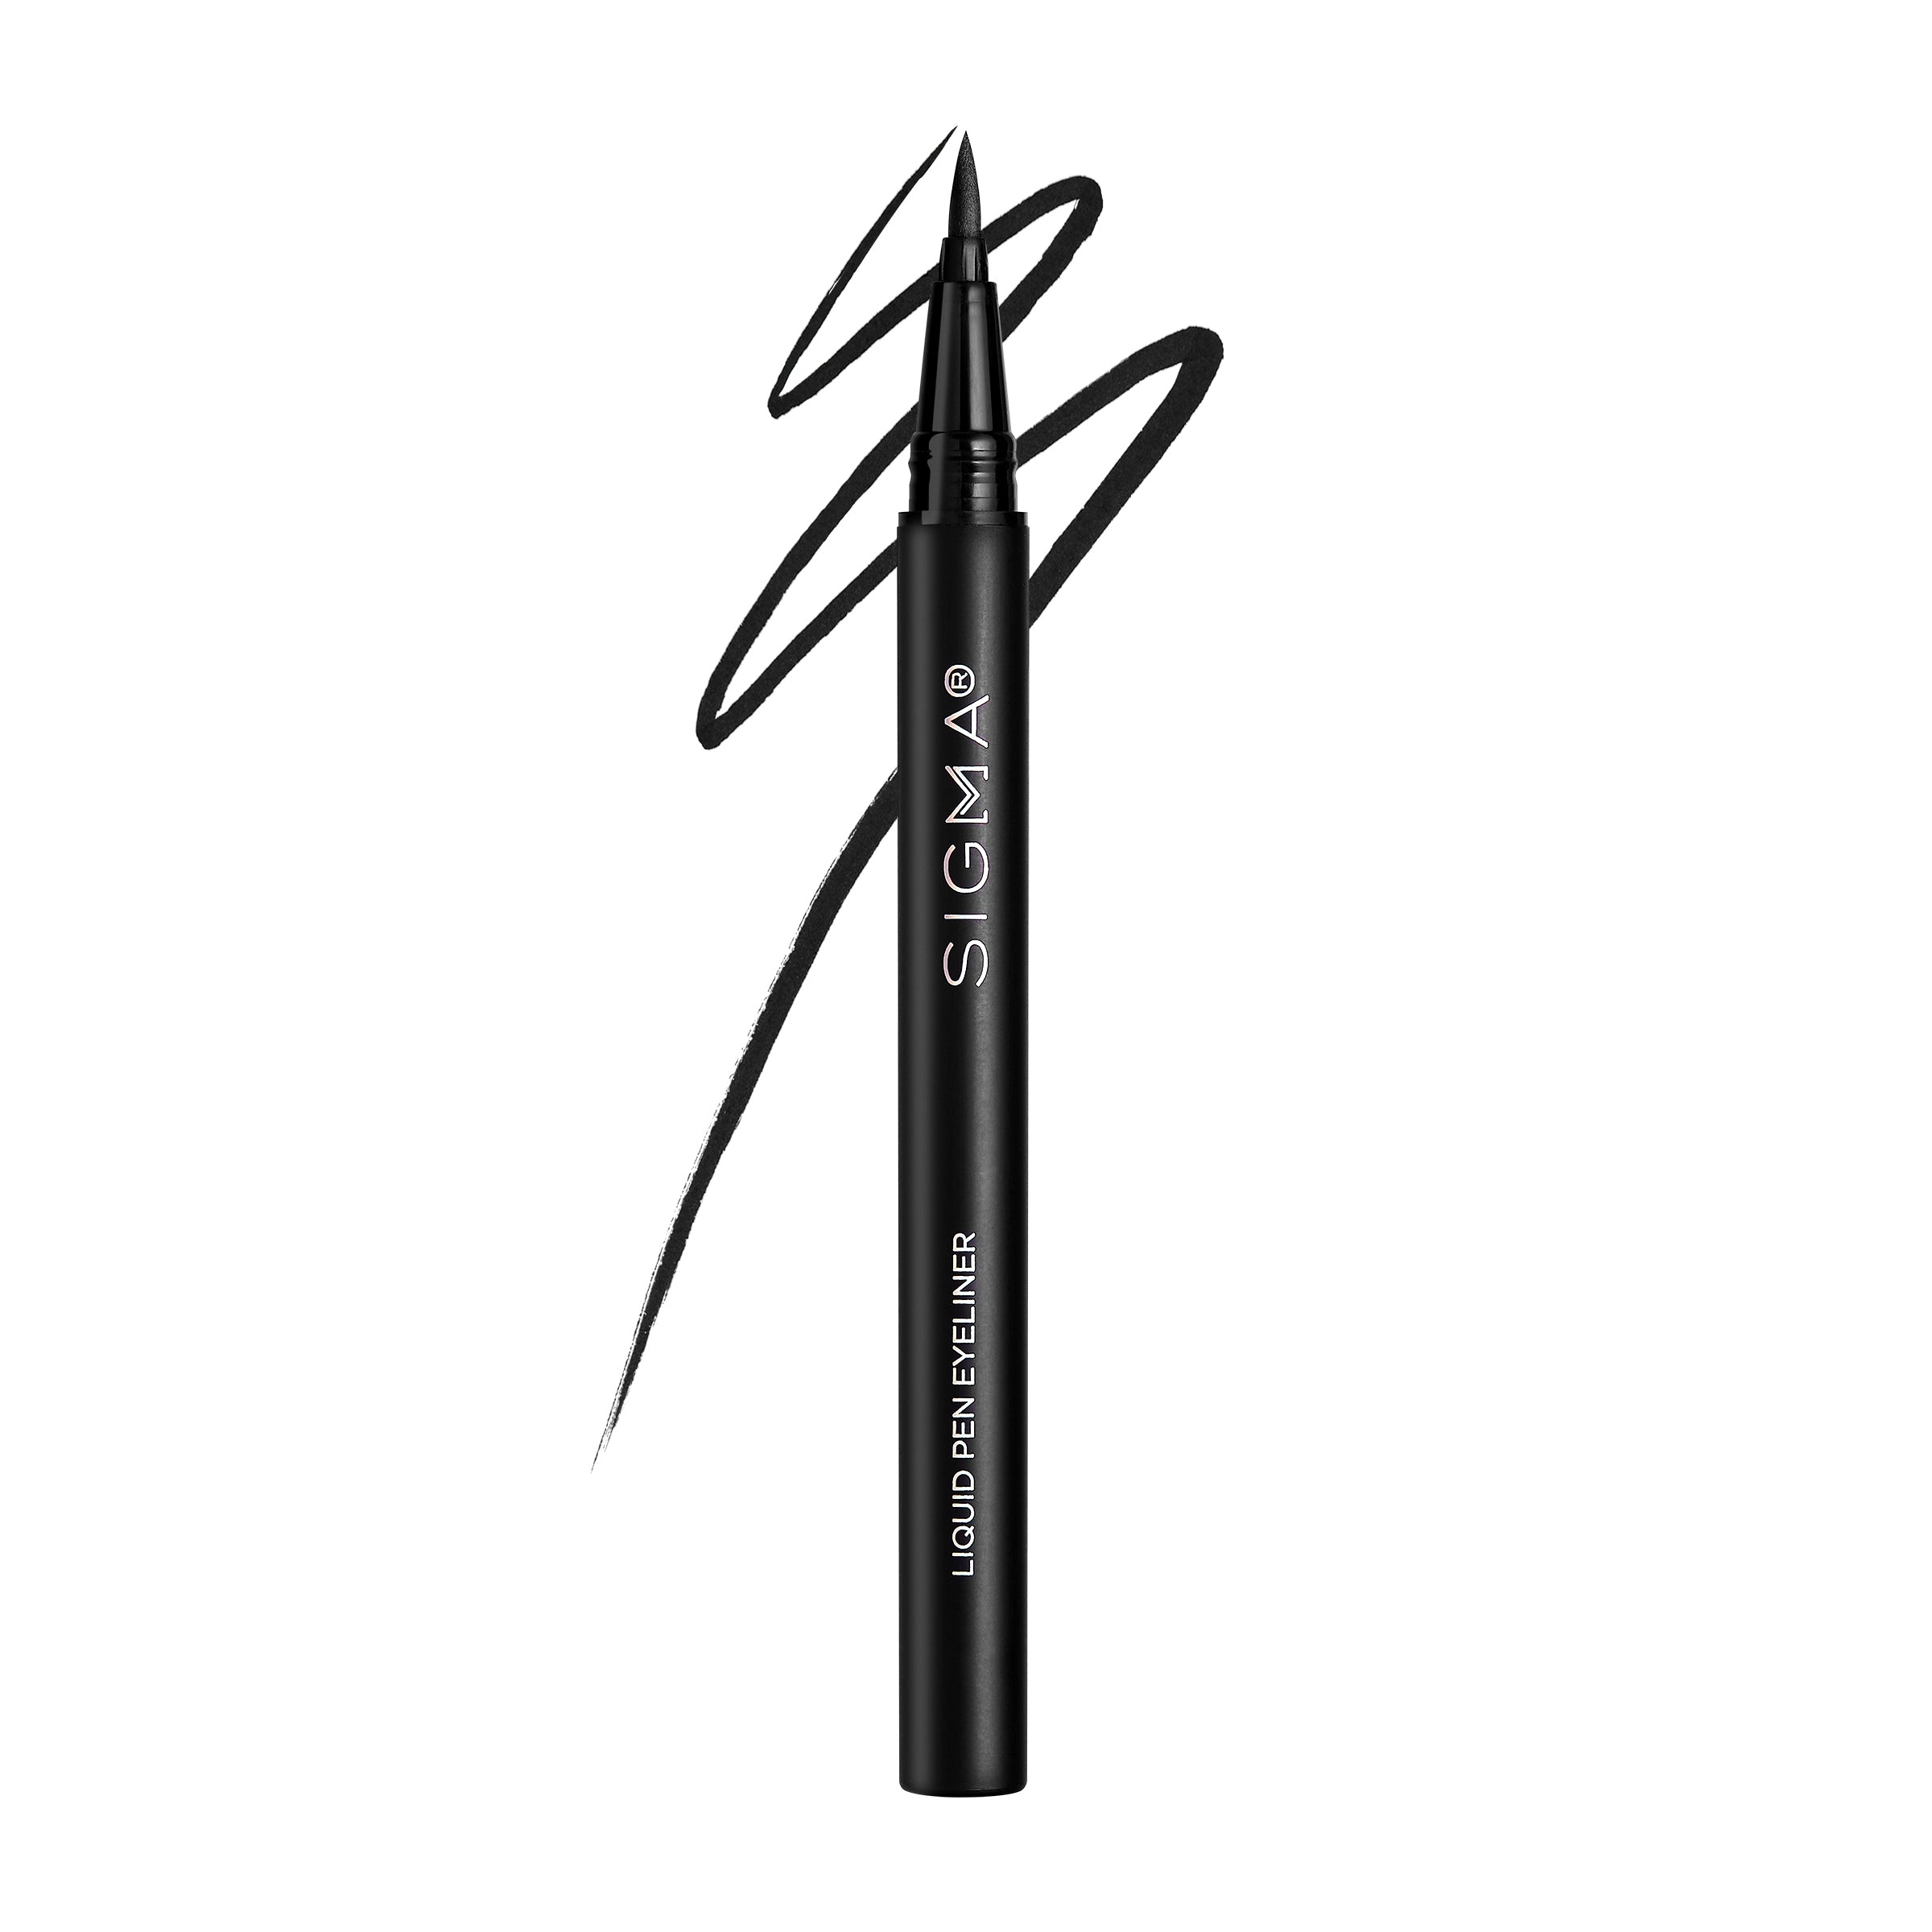
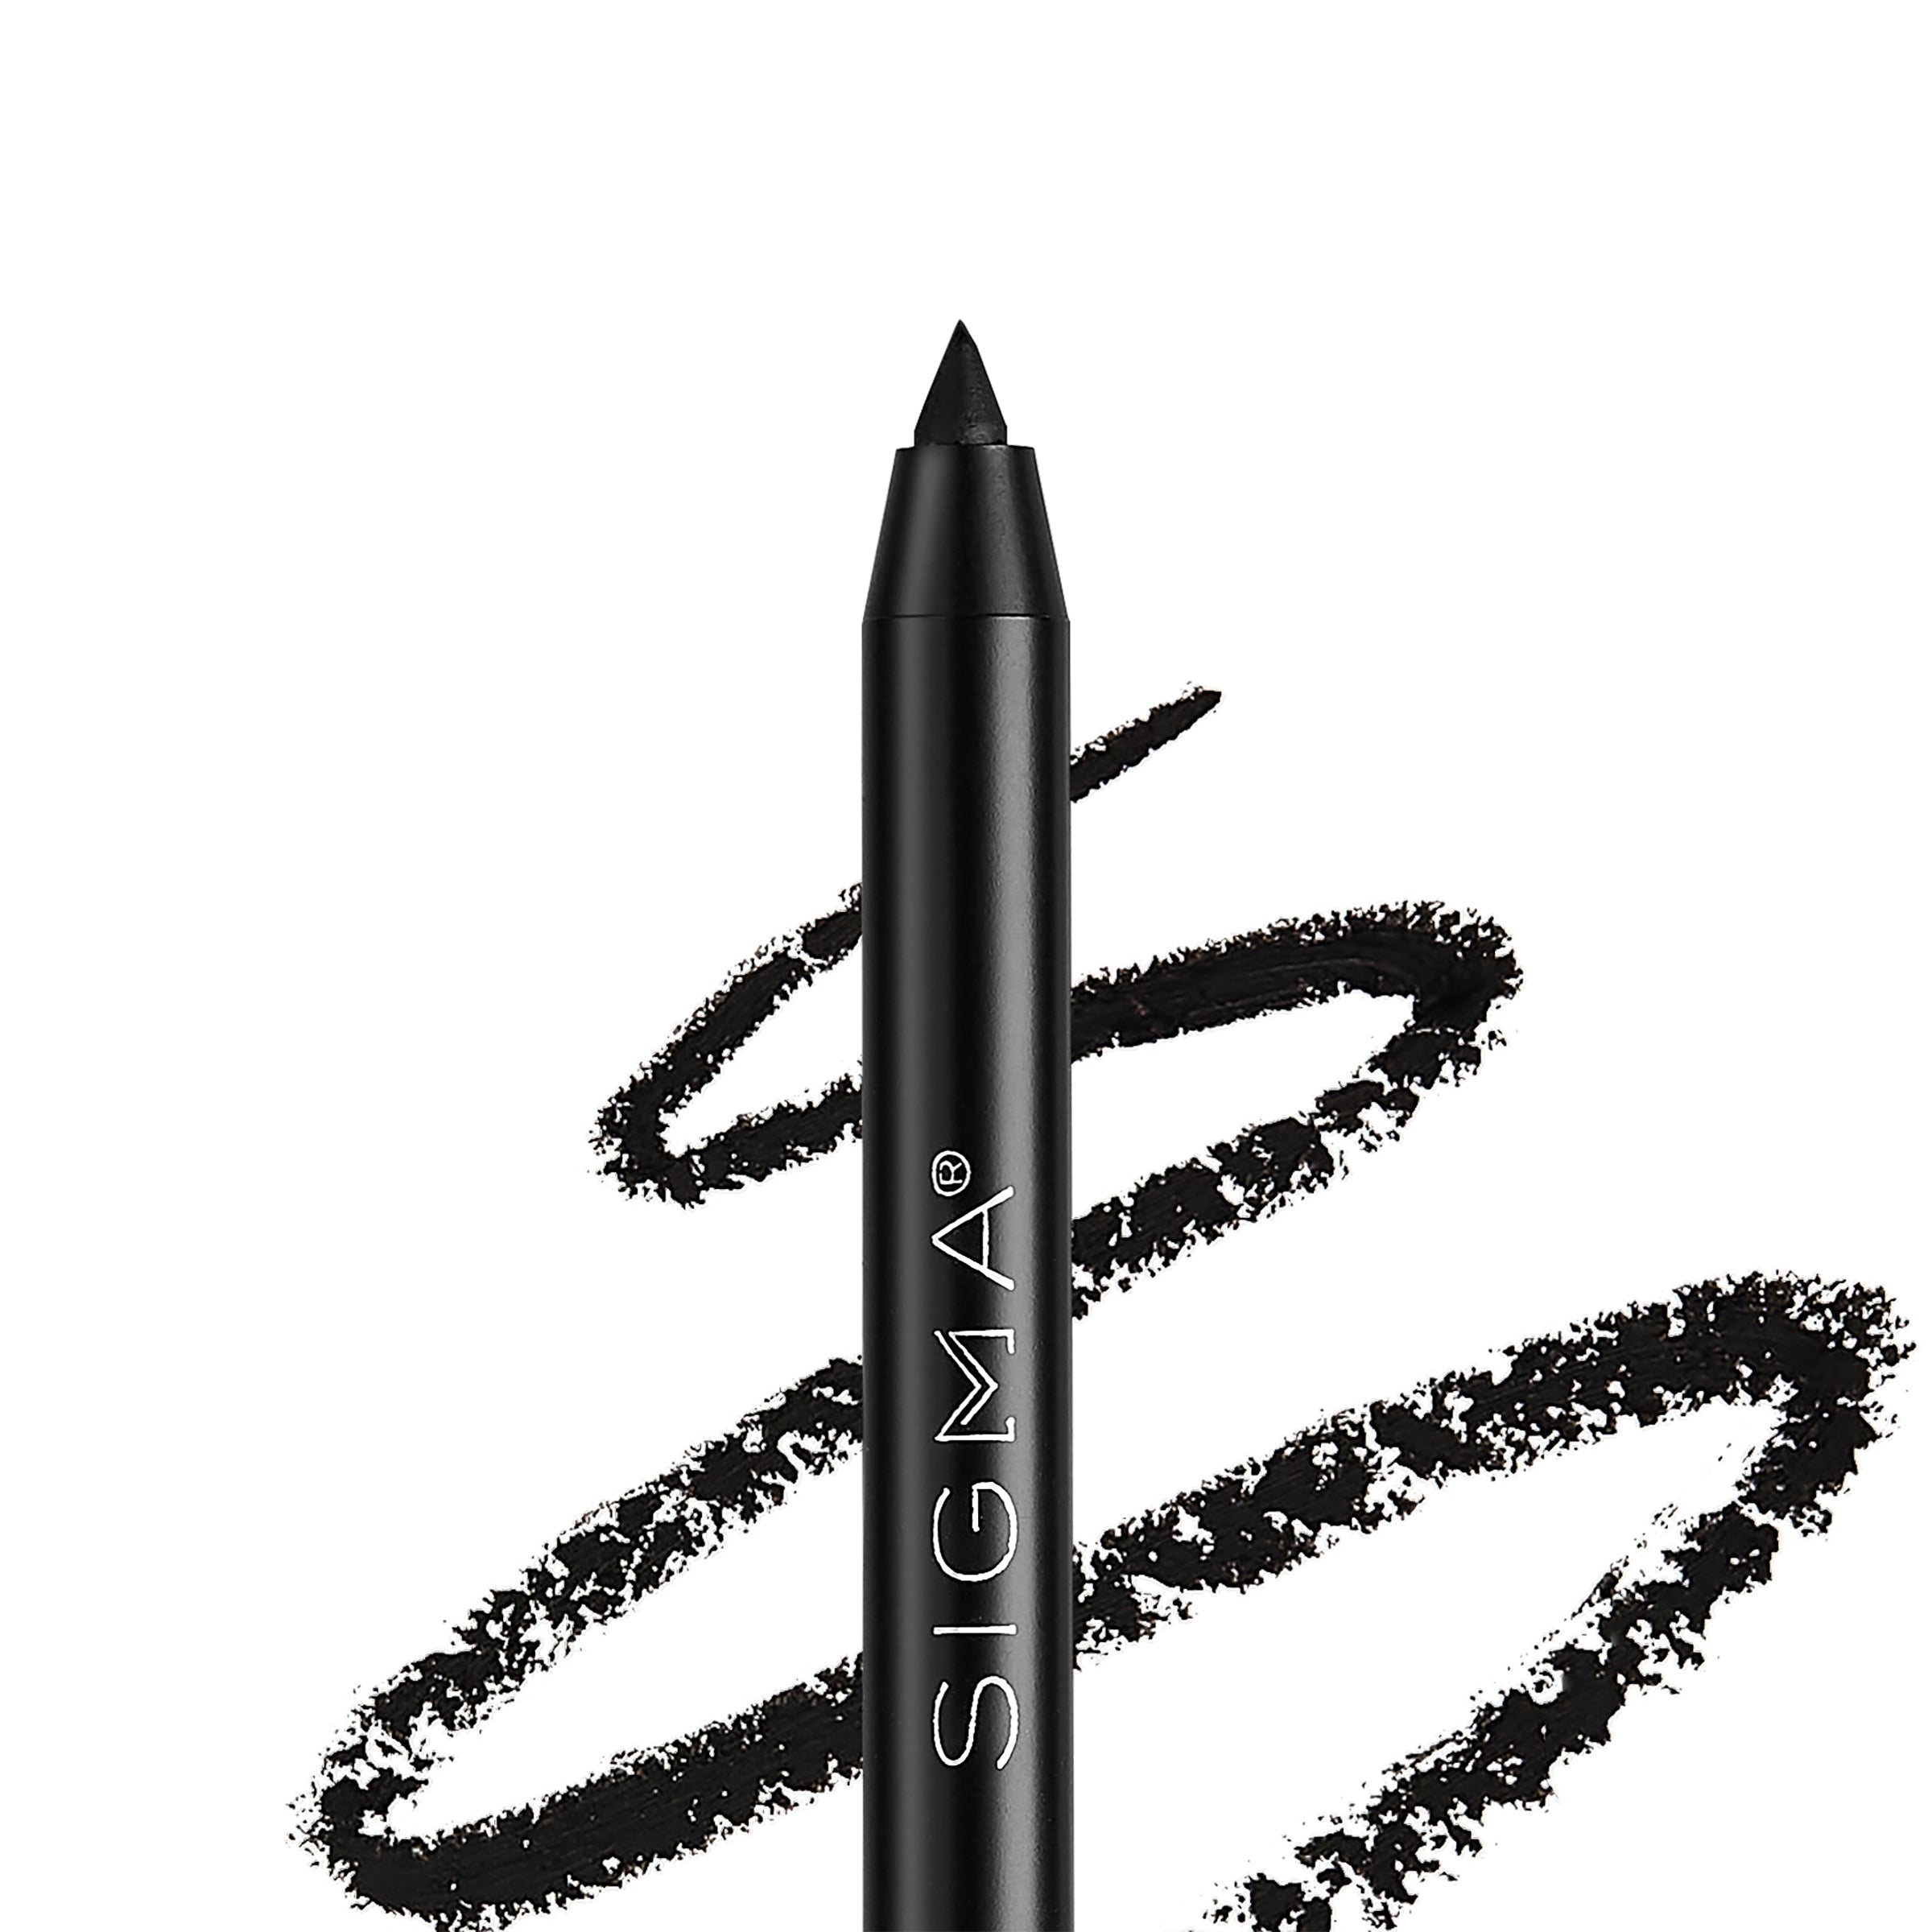
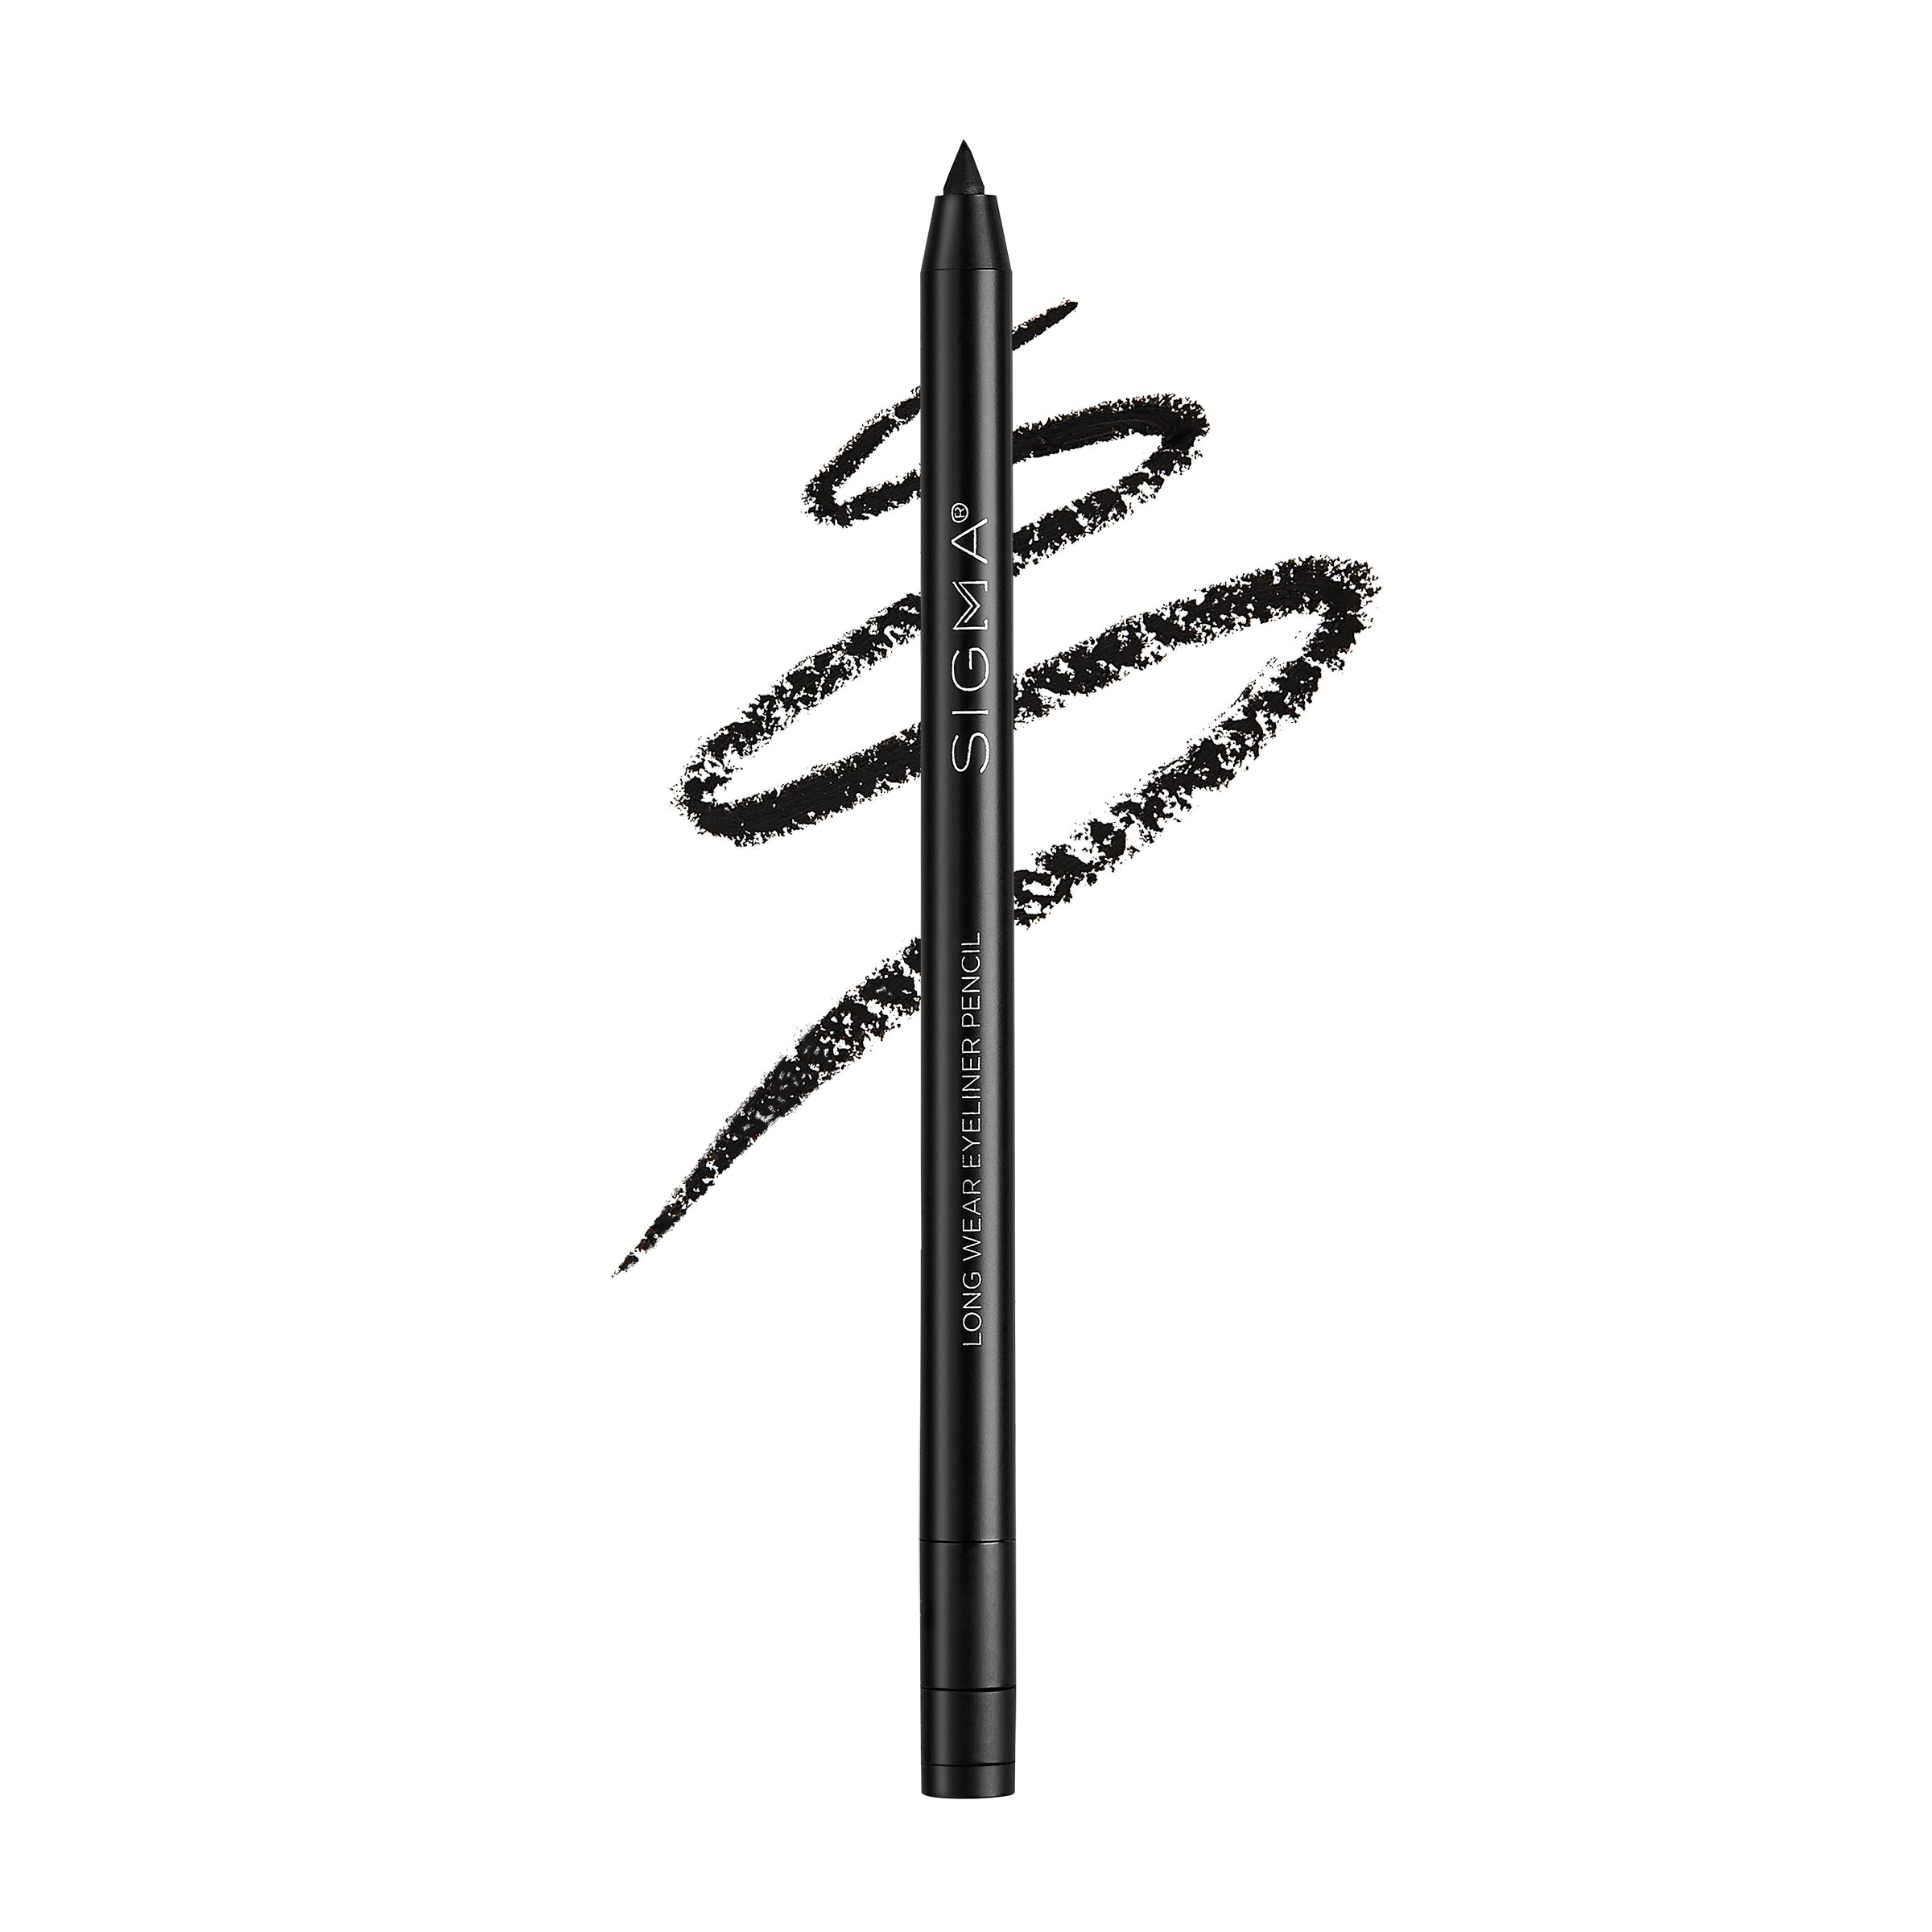
To amp up the drama, it's time to add some definition to your smoky eye. Using a pencil or gel eyeliner, carefully line your upper lash line, making sure to get as close to the roots of your lashes as possible. For a more intense look, you can also tightline your upper waterline. If you prefer a softer look, you can smudge the liner with a small brush or cotton swab for a smokier effect.

HIGHLIGHT AND BLEND
STEP 5
To brighten and open up your eyes, apply a shimmery or matte highlight shade to the inner corners and brow bone. This step will help catch the light and add a subtle glow to your smoky eye look. Finally, go back in with your blending brush and gently blend any harsh lines for a seamless finish.

Finish with Mascara
STEP 6
No smoky eye is complete without a few coats of mascara to define and lengthen your lashes. Choose a volumnizing or lengthening formula depending on your preferences, and wiggle the wand from the roots to the tips of your lashes for maximum impact. For an extra dose of drama, you can also add false lashes to really make your eyes pop.
With these step-by-step instructions, you'll be well on your way to mastering the art of the smoky eye. Whether you're getting ready for a night out on the town or simply want to elevate your everyday makeup routine, the smoky eye is sure to turn heads and leave a lasting impression. So grab your favorite shadows and liners, and let your inner makeup artist shine!
Smokey Eye Look